So, as you'll have seen from the title, this post has to do with Christmas baking. Over the last couple of weeks of December, I baked about 250 mince pies and the same amount of shortbread biscuits. 200 of each were for an event Rumney Forum held in our Old Library as a fundraiser, in our continuing quest to raise money to realise our dream of converting the building into a community cafe with hireable community rooms and loads of other brilliant ideas for reaching out to our local community. For more information on the Library Project, click here. The fundraiser in question was a Christmas tree festival. Just to set your minds at ease, there was nothing pagan about this event (!) but community groups, schools, local businesses and even families and individuals were invited to bring a Christmas tree to the Library, which we were really fortunate to have been granted use of by the council for the week of the event, and to decorate it, ideally with a theme related to their group. The trees would be set up in the Library like a forest, and the building open daily for a few hours so people could pop in and vote for their favourite tree. Father Christmas was to visit each day, sit in his grotto and hand out gifts to children and home made mince pies and shortbread were to be available every day. We got a steady stream of visitors during the week, when we were open Tuesday to Friday from 2-5pm, and the event culminated on Saturday afternoon with a community family party at which the winning tree was announced, and a raffle was held to win a hamper of goodies, as well as there being plenty of children's entertainment and other fun activities. The whole event was a resounding success. We had such a diverse cross-section of the community visit the festival both during the week and for the party. Everyone was so enthusiastic at the prospect of the library becoming an exciting and inviting space in which they can spend time, and were very supportive.

Following is a selection of the trees that were submitted. The whole forest feeling we were going for didn't quite work out, but we are hoping that next Christmas, God willing, we will have a lot more trees and a refurbished library in which to display them.





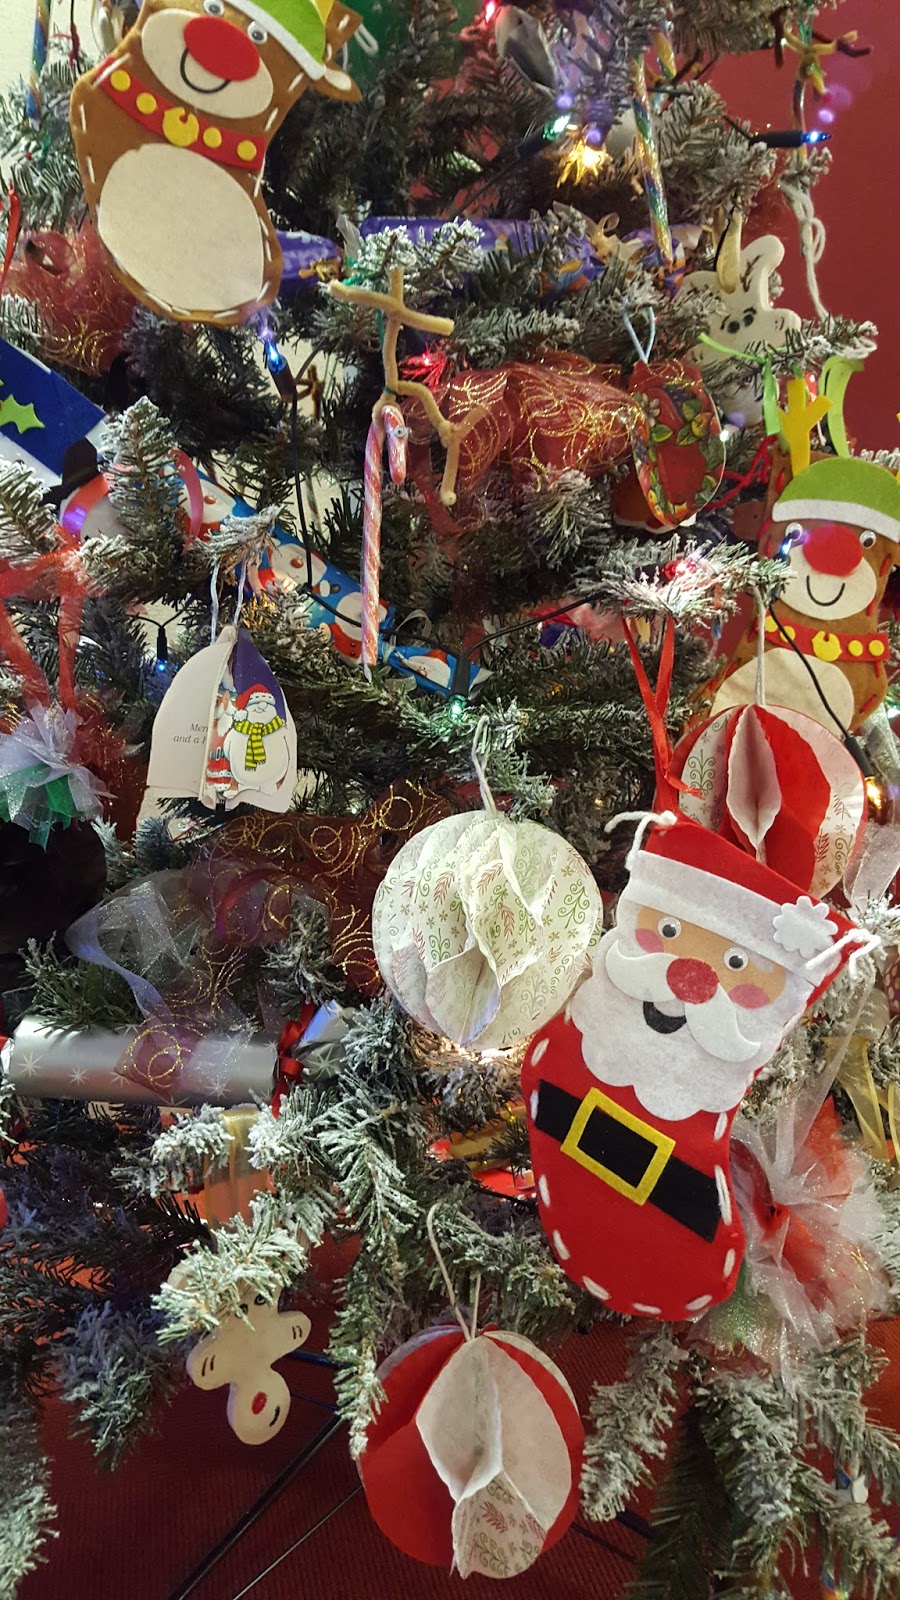
Please excuse the decor of the Library; it hasn't been decorated since, probably, sometime in the 80s, and it was definitely a challenge to make it look inviting!
So as you can imagine, I had to spend a serious amount of time in the kitchen over the weekend leading up to the festival, and during the week it was on, to ensure we had a constant fresh supply of baked goods. I was confident with the mince pies, because I've become a bit of pastry queen over the last couple of years. I don't say that in an arrogant manner, but I made it an ambition of mine to be able to make pastry well, so I've practised a lot, making plenty of pies, both sweet and savoury. I will tell you though, that I cheated with the mince and bought ready-made. I simply did not have time, what with everything else going on in life, to experiment with making that too. What I did need to expiriment with, however, was the shortbread. I was aware that making shortbread is a renouned skill, but I'd never tried it. My first attempt from the first recipe I tried (which was a River Cottage recipe, I can't believe it!) was a complete and utter disaster. I tried with the resulting dough three times to bake it, and each time it ended up a melted splat.

The dough was also far too buttery, not only inhibiting its ability to actually cook properly, but the buttery taste was too intense even for shortbread. I eventually found the recipe that would redeem my efforts in one of those cookbooks I picked up long ago in either a garden centre or in a motorway services. It's called Mum's Favourite Recipes and I have to say, it contains some really great recipes for hearty meals and traditional cakes, though it is not a healthy option cookbook! The shortbread recipe it contains is excellent. The dough rolled out perfectly without even having to be chilled, and it tasted absolutely delicious. I will share it with you below, though I unfortunately have no method photos due to time restrictions whilst making it.


Ingredients
250g butter at room temperature (the recipe states unsalted but I used salted)
125g caster sugar
250g plain flour
125g rice flour
Pinch of salt (though not needed if you use salted butter)
Equipment required
Stand mixer
Baking tray
Cookie cutter of your choice
Method
Pre-heat the oven to 150C for a conventional oven.
Prepare a baking tray with baking paper.
Ensure the butter is soft enough to be fairly easily beaten; I like to put chopped up butter in a dish then place it in the pre-heating oven while I prepare other ingredients. This way, it doesn't melt as quickly as microwaving it, but it becomes nicely soft around the edges. Just don't forget it's in there, as really the butter just needs to be easily beatable, not soft.
Beat the butter and sugar together in a stand mixer, using the beater tool (the one that's kind of diamond shaped with three large holes, if you have a KitchenAid) until pale and creamy.
Sift in both flours and the salt, if using, then beat until it forms a dough and clumps together. Remove from the mixer, then briefly squeeze the whole lump together with your hands, just to ensure it holds together nicely.
Now you can either wrap the dough in clingfilm and refrigerate it for half an hour (or even freeze it for use at a later date), or you can flour a worksurface ready to roll! Place the ball of dough on the floured surface, then cut a large piece of clingfilm, place on top of the ball, press the ball down firmly with the flat of your hand to create a flat top and bottom surface rather than the fully round ball, and, with the clingfilm in place, roll out the dough using a long rolling pin. The film will preven the pin sticking to the surface of the dough and will also give a beautifully smooth finish.
Keep rolling until the dough is about half to three quarters of a centimetre thick, then cut out your shortbread shapes using your desired cookie cutter, placing each one on the baking tray as you cut out. Place the full baking tray in the fridge for about 30 minutes to firm up the dough.
Sprinkle the cut cookies with caster sugar ten bake in the pre-heated oven for 30 minutes. The shortbread should not be golden, but should pretty much retain its original colour. The low oven temperature aids this, as well as allowing the shortbread to cook without melting.


We also held a little get-together at home during Christmas week, for which I once again produced about 50 of each of mince pies and shortbread. These shortbread photos are from then and you can clearly see how pale the cooked biscuits are. I highly recommend this recipe; I had so many complements about it. That's not to say that I made it excellently, but that it's a really good recipe; perfectly buttery and rich, with a lovely snap and excellent texture. I have altered the method slightly: the book doesn't specify using a stand mixer, but rather a food processor, which would also work perfectly well, so just use your processor if you don't possess a stand mixer. The cling film trick is actually from the failed recipe, but I upheld it because of the beautifully smooth surface it produces. This dough rolls out excellently no matter how many times you have to bring the scraps back into a ball, so go ahead and squeeze the scraps together as you definitely don't want to waste this dough. Oh, and a little health warning: the uncooked dough is as yummy as the cooked biscuits!!!
I also want to share the sweet shortcrust pastry recipe I perfected for the mince pies. Again arrived at through a bit of experimentation and mixing together of a couple of recipes, what I finally arrived at worked really well, so here it is. It's lovely and simple, and, like the shortbread dough, this pastry comes together nicely when you need to re-roll it. I believe this amount makes about 28ish mince pies.
Ingredients
400g plain flour
230g cold butter
4 tbsp caster sugar
8 tbsp water
Equipment
Food processor
Cupcake tins
Round cookie cutters (and stars if you want star-shaped lids)
Rolling pin
Method
Place the flour and chopped-up butter in a food processor and blitz until it resembles breadcrumbs.
Transfer the mixture into a large mixing bowl, add the sugar and stir in, then add the water, mix with a spoon, then bring the pastry together with your hands, squashing well to ensure the water is properly incorporated.
Wrap in clingfilm and chill for half an hour.
Pre-heat the oven to Fan 180C.
Flour a reasonably large area of worksurface, then roll the dough out to about 3mm. You will find the dough will roll out to this thin depth perfectly easily and that it will spread out nicely.

If you are making mince pies with your pastry, take the correctly sized cookie cutter to make the round bases, then cut out as many as you need, followed by the same number of lids. Butter the cupcake holes then place the bases into them, gently pushing them into place but not tightly. Fill with mincemeat then put the lids on.


Bake in the pre-heated oven for 20 minutes.
You may find the mince spills out over the sides, especilly if you are generous with it. I found a slightly heaped teaspoon of mince to be the right amount for it not to bubble up and over too much.


When I made these again for our Christmas gathering at home, I had defenitely perfected the amount of mince, and I used a round lid rather than a star. In my opinion, I prefer the round; it just looks tidier. But obviously stars are fun, especially for children, and only I would care how tidy a mince pie looked! Here are some photos of the latter batch.


And the mince pies and shortbread together...


How much better photos look when they're taken in natural light; I cannot wait for spring!
Finally, I can't finish this post without telling you about the absolutely delicious Christmas cake I made for Christmas day at my parents'. It was from the Christmas issue of Tesco Food, Family, Living magazine and it was incredible! It couldn't have been more unhealthy if it tried, but it was so worth it for a couple of days of (just slight) indulgence. I will definitely make this recipe again, in fact, it could become my traditional Christmas cake recipe. I'm not a fan of real traditional Christmas cake, so this was really satisfying. Here are a few photos, and a link to the recipe, Naked Gingerbread Wreath Cake.


Unfortunately I didn't take photos any of the sliced cake, but suffice it to say, it was pretty spectacular!
So, after that onslaught of baked goods, I'd love to know what you baked this Christmas. Did you discover a new favourite recipe to add to your repertoire for the festive season? I think I might have to make the mulled wine and mince pies gathering a tradition as well! Here's to some healthy recipes for the new year, and some exciting and experimental cooking and baking.
xxx Sam