Wednesday 11 May 2016

Bananatana Muffins

 
Hi Friends! I have my favourite and most successful recipe so far to share with you this evening. I haven't actually been writing my own recipes for long, and hadn't even intended to, but as what I'm doing has evolved, I've become much more confident in what I can come up with as a cook in my own right, as well as just following other peoples' recipes. This is my first baked cake recipe, where I've written the recipe myself and tried it out, and it received such a good reception from husb and the Tonjus that it was rendered a great success, so here it is, written up, for you to make too.

As you'll see from the method photos, this is a great recipe for making with children. I was so delighted when my little one helped me with this recipe because he actually listened and didn't try to just chuck everything into the bowl or make a massive mess when there wasn't anything for him to do for a moment (ahem; unlike his brother!) You don't even need a stand mixer or food processor, just a hand-held manual whisk. None of the ingredients need prior preparation and they are all so simple and easy to obtain. These muffins are totally wholesome and nourishing, and would be great for a lunchbox and for morning or afternoon snacks, especially if you're off on a hike or other energetic activity and need an energy boost. There is plenty of fibre in them from the oats, wholegrain flour and banana, and plenty of flavour with the help of cinnamon and mixed spice.

Ingredients (makes six, easily doubled)


50g rolled oats
80g wholemeal self-raising flour
1/2 tsp baking powder
1 ripe banana
2 tbsp honey
1 tbsp mixed seeds
1 egg
40g sultanas
Level tsp cinnamon
Level tsp mixed spice
Pinch of salt
(Note: baking powder and salt not pictured)

Method

Pre-heat oven to fan 180C.
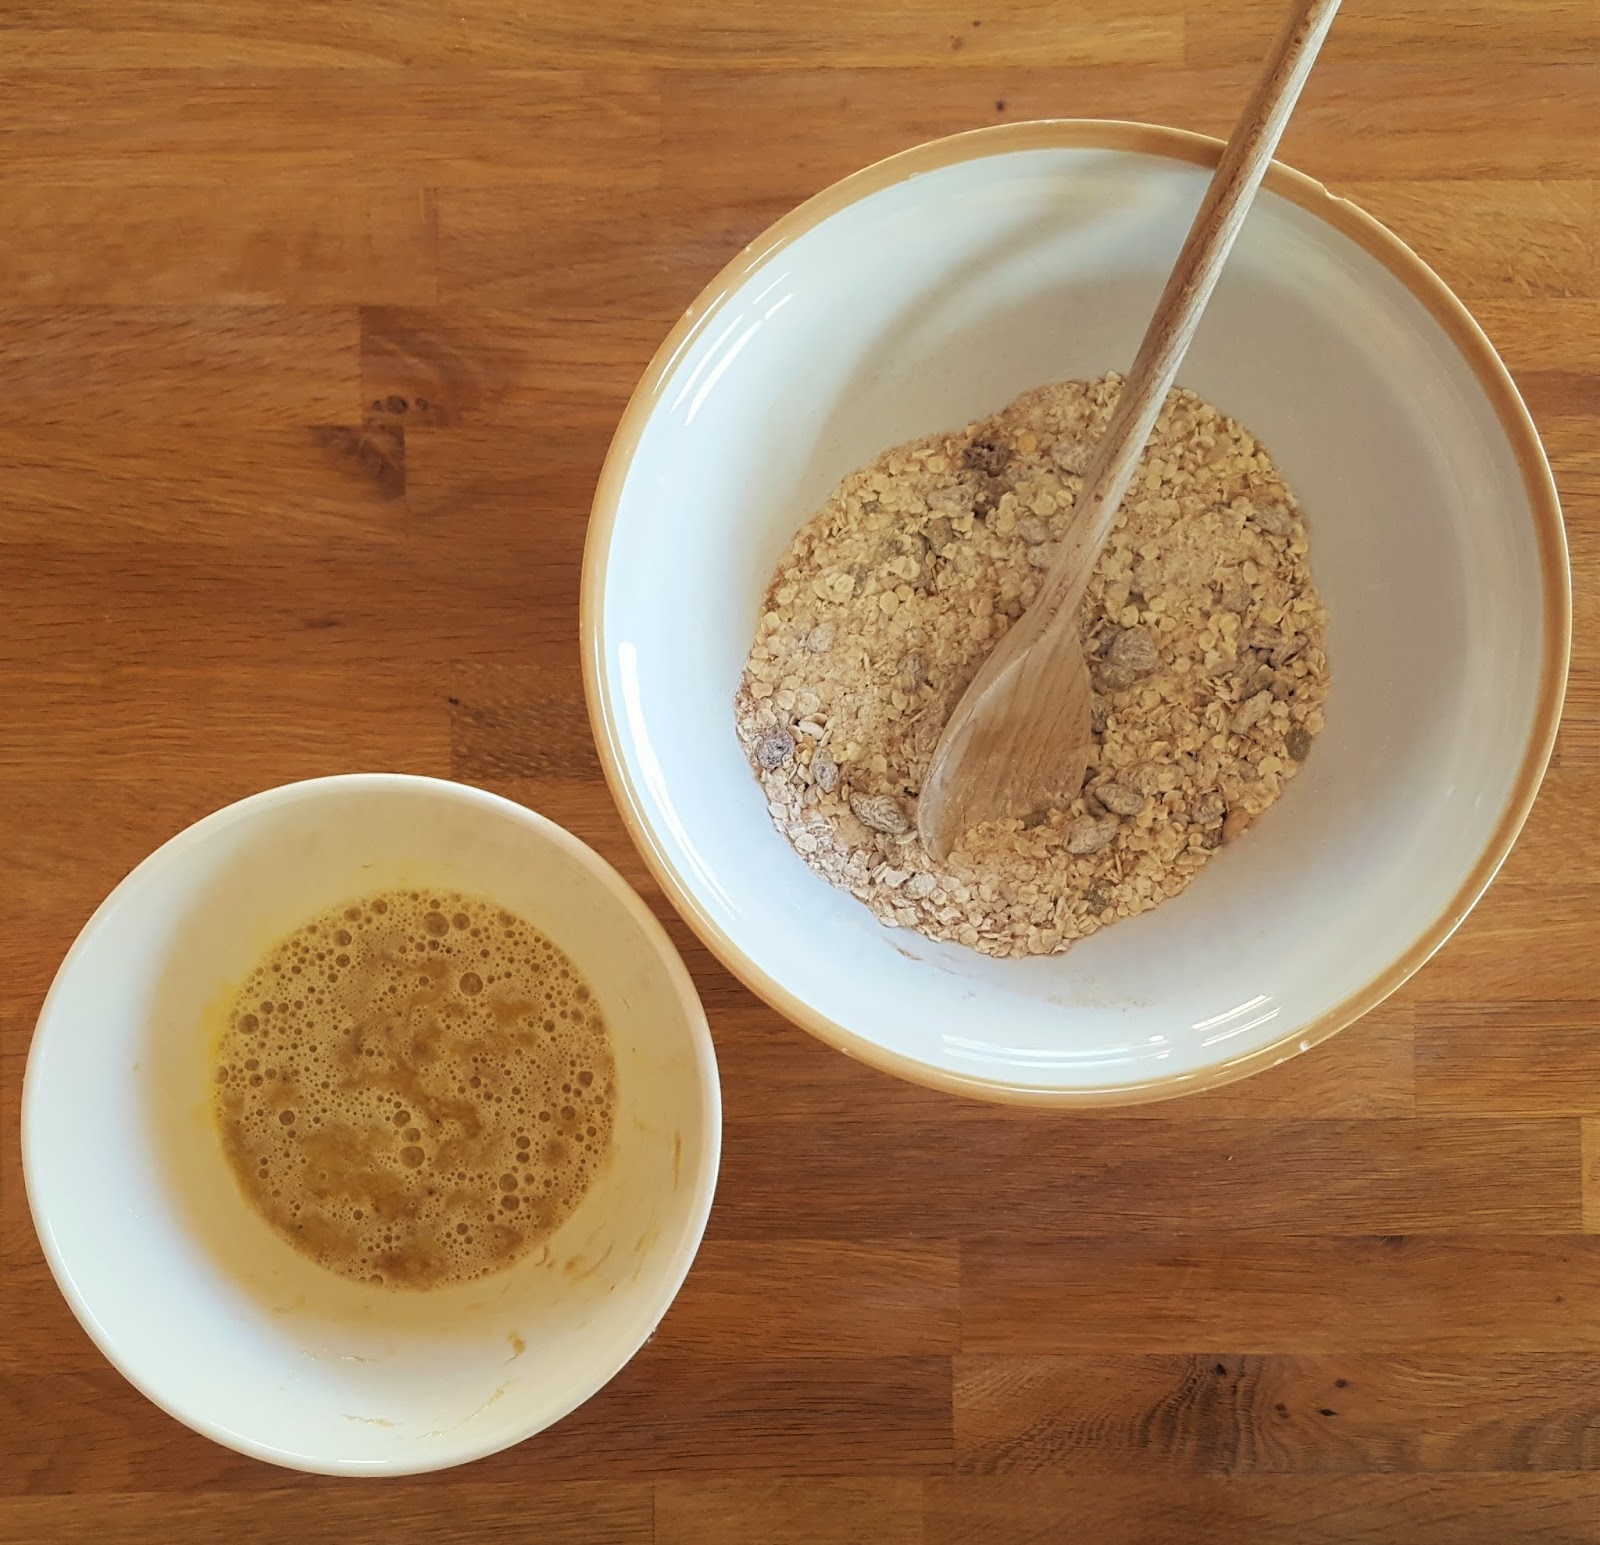
Put all the dry ingredients into a bowl and mix together with a wooden spoon (don't forget the pinch of salt!)


Next, peel the banana and place in a shallow bowl - a pasta bowl is ideal - and mash. In a separate mixing bowl beat the egg with a manual whisk, then add the mashed banana and honey and give it all a good final whisk.


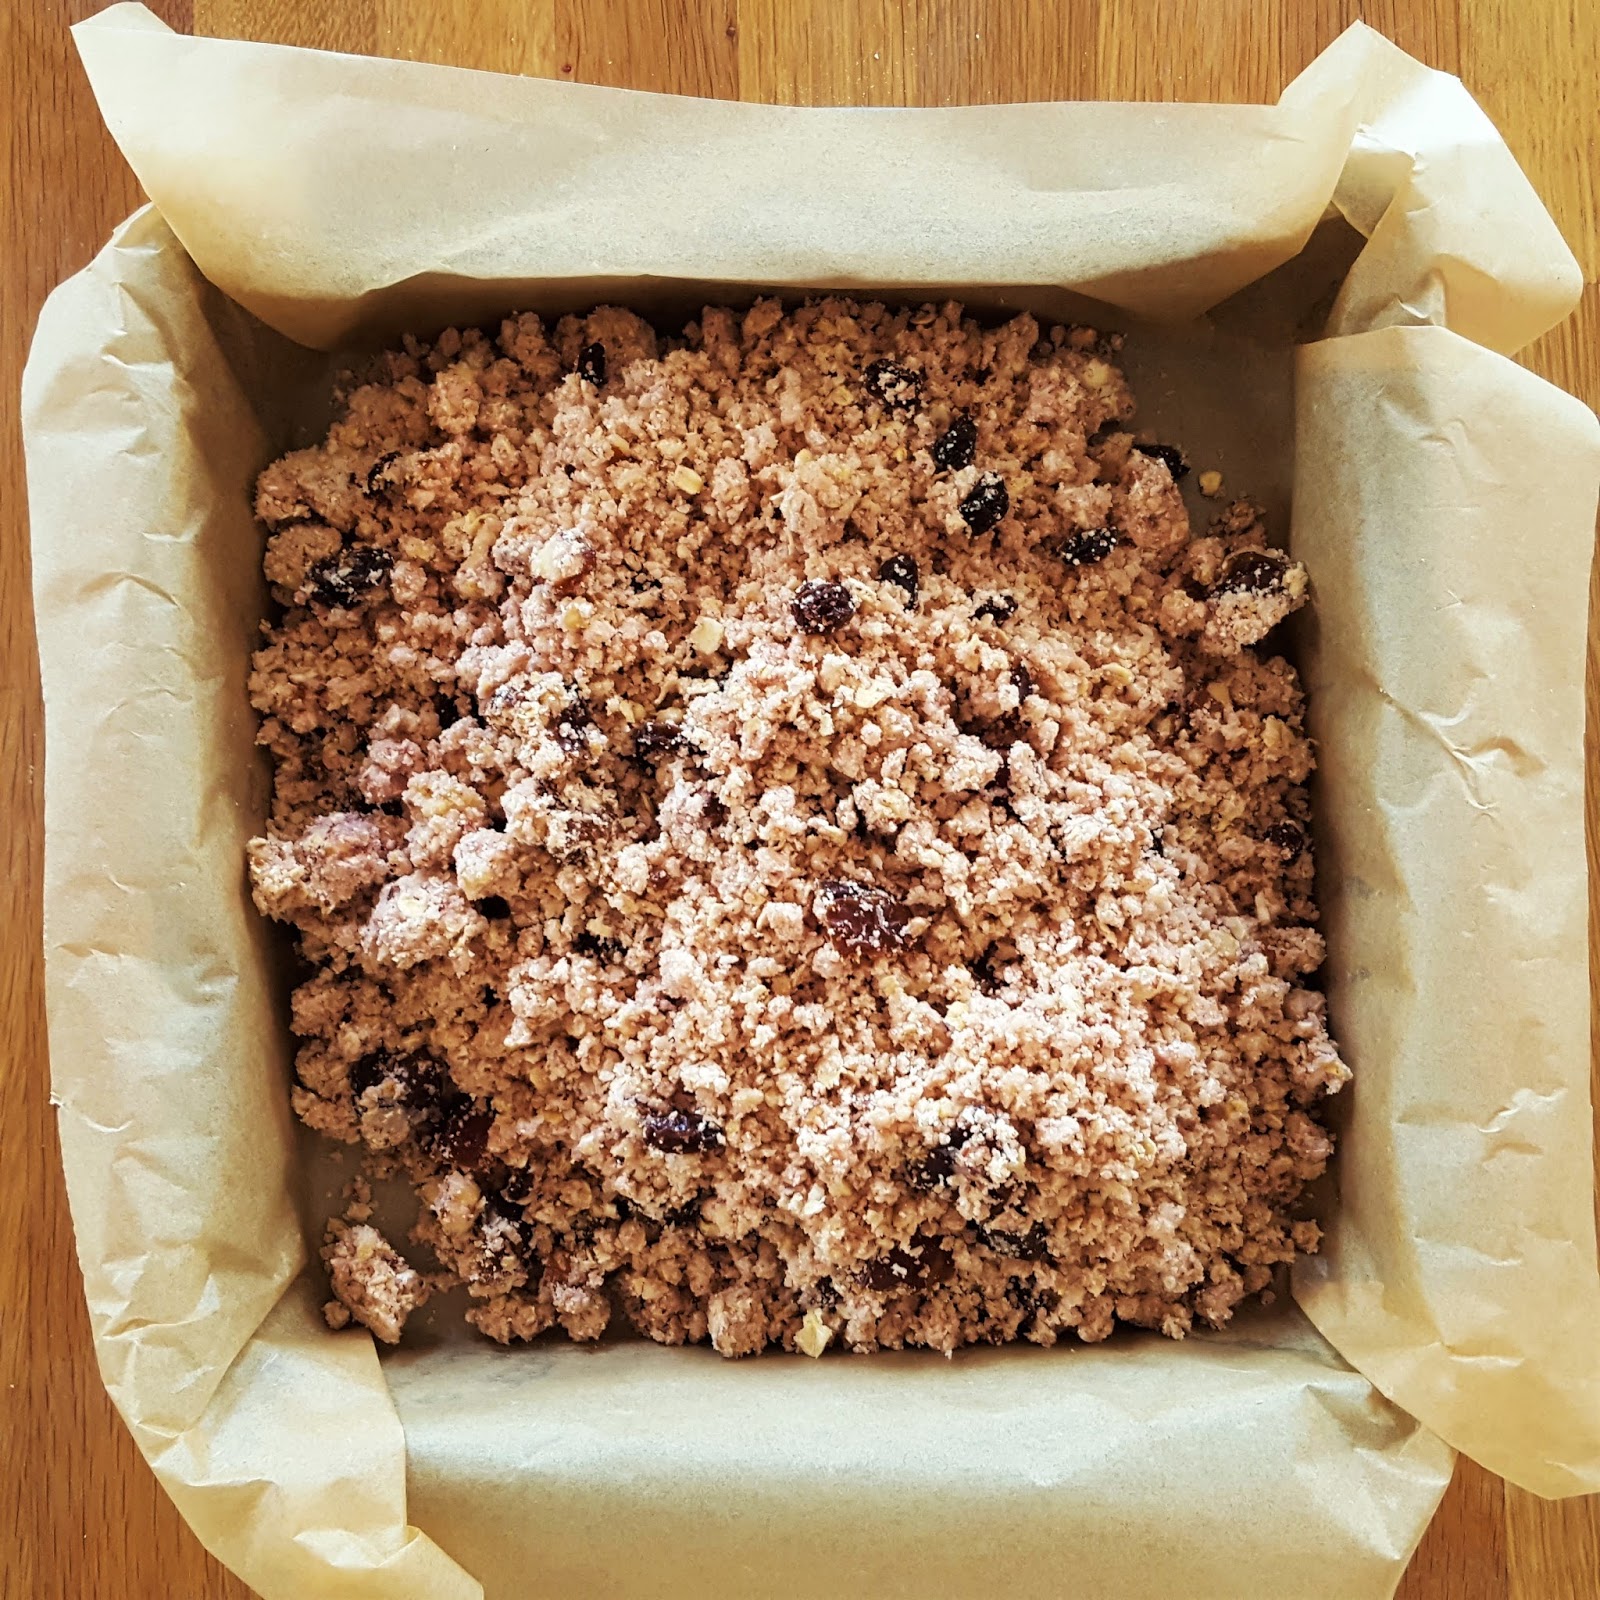
Finally, add the wet ingredients to the dry and mix together well, then place in a six hole muffin tin (or use six holes in a 12 hole tin). I used a silicone tin, but if you use a metal tin, either grease the holes or line with muffin cases.  


Bake in the pre-heated oven for 18 minutes, then cool in tin for 5-10 minutes before removing to fully cool on a wire rack.


 These muffins hold together beautifully!


 Enjoy with a nice cup of tea


I hope you enjoy recreating this recipe and love it as much as we did. I made it a tradition for a while in our house that Friday is cake day, and we'd all sit round the table together after school and work (husb finishes early on Fridays) and have tea and cake, but I hadn't done it for a while, so these were the perfect thing to reginite the tradition. 

I'm also planning to enter these into a competition run by The Cotswold Company, purveyors of beautiful oak and pine and furniture, to select 100 recipes for a cookbook they are compiling; The Cotswold Cookbook. This is such an accessible recipe, using no specialist equipment, so maybe it stands a chance... It's certainly no frills but maximum taste, so we'll see how that goes. 

Thanks so much, as always, for reading.

xxx Sam


Tuesday 3 May 2016

Fruit Compote and Date Bars


Hi friends! I really have been cooking non-stop lately, and I think I need a bit of a break, with some quick evening meals and less cooking at the weekends. I enjoy it so much and I seem to gravitite into my little end of the kitchen, which is a real haven to me and in which I can basically hide from the noise by cooking. That sounds a little pathetic but I have to admit it to you. The title of this blog is actually based on reality, not irony, and cooking is totally my solace. Lately however, I've been doing a bit of baking with the littlest Tonju, who is so different to big Tonju in that he actually listens to instructions when I'm telling him what to do next in the sequence, whereas big T will just get bored and chuck in whatever he wants if there is nothing specific to do for a few moments. So look out for an upcoming recipe with which little T helped fully, with plenty of cute process photos. For this post though, I need to share this recipe I devised a few weeks ago. 

Earlier in the week I'd made some fruit compote from an apple, three plums and a mango. The plums were really nearing their end of life, as was the mango, so I thought I'd make something of them so as not to waste them, and also with the idea in mind to use some of the compote in a cake-type recipe. I had also bought some coconut flour a while ago, quite a few months actually, and I really wanted to try it out, so I had a think and came up with these yummy Fruit Compote and Date Bars, which are really satisfying for an afternoon snack, but also not too sweet. They have a great balance between fulfilling a sweet craving whilst not actually being tremendously sweet. I'm afraid that if you're not a coconut lover, it is another homage to coconut, as was my last recipe, Raw Cacaonut Truffles, but this is probably more so, so I apologise for that.

If you want to make these, you will need to make some kind of fruit compote or puree to bind them with, for which I've done a quick method on my Facebook page. You can really use any fruit of a soft, juicy texture; pears would be good, and you don't need to mix fruits, apple on its own, or just mango would be fine, although I must say that, for this recipe, the plum does complement the otehr ingredients. You will need 200g compote.

Ingredients


100g coconut flour
50g rolled oats
80g hazelnuts and almonds, combined and chopped in a food processor to a mixture of ground nuts with plenty of large chunks left, as in photo
2 tbsp maple syrup
200g fruit compote/puree
Large handful medjool dates, deseeded and chopped
Large handful of raisins
1 tbsp dessicated coconut
2 tbsp coconut oil, melted
Pinch of salt

Method
Pre-heat oven to fan 160C, and put the coconut oil in a bowl to melt while you prepare the other ingredients. Deseed and chop the dates.

Put all the dry ingredients in a large bowl, including the pinch of salt, and mix well together.


Add the fruit puree, coconut oil and maple syrup. It will be a lumpy mixture but squishy when pressed down with your fingers.


Add the dates and raisins and mix in well, ensuring the dates are separated.


Empty into a greased and lined 20cm square cake tin and press down well, ensuring a flat and even surface and making sure the mixture is pressed into the corners and edges.


Bake for 25 minutes until starting to go golden. Remove from oven and cool in tin for 20 minutes before removing, in the paper, to cool on a rack.


Keeping the bake on the baking paper, remove to a large chopping board and, using a long, sharp knife, cut into 12 rectangles.


Enjoy with a cup of tea (as always) for a mid-morning or afternoon snack.


When you've eaten your fill, store the bars in a cake tin or other sealed container. They will keep for three days.


This is a great recipe because it contains so much goodness. Real fruit, energy from the oats and nuts, a bit of natural sugar from the dried fruits and maple syrup, but nothing at all bad. Even the flour is made of coconut! They are satisfying enough to fill that gap you always get before lunch or dinner, and they are certainly healthy enough to put in your child's lunchbox or to give them for snack time when they get home. Just don't forget to put an ingredients list in the lunch for when the dinner ladies do a lunchbox inspection! Only joking; they don't do that, do they..?

I hope you enjoy these as much as we all did. I was really excited to have made use of some fruit which was going to waste, and to actually have made something really tasty out of it. If you ever have old fruit lying around, pureeing it is such a good way of making it into a form which can be stored, as once it's pureed it can be kept in the freezer, or the fridge for a few days, and just defrosted whenever you need it.

Enjoy your next tea-time!

xxx Sam

Thursday 14 April 2016

Raw Cacaonut Truffles

Hi friends! Lately I've been in the habit of making a stash of some kind of sweet treat to keep in the fridge or freezer for my afternoon snack. I collect big Tonju from school and we all sit down to eat our snack at the dining table (or rather, I spend ten minutes telling him to sit on his seat, stop walking around and eat his snack without getting it all over the room, by which time he's finished and I haven't even started mine, and he wants me to do something with him!) I ran out of said stash a few days ago, and yesterday I really fancied throwing something together quickly after lunch, to chill in time for snack time. I pulled my old faithful cookbooks down from the shelves, but nothing grabbed me at that particular moment. It was then that I thought, "I'll just make something up myself!"

Having been in the habit of eating a lot of raw foods for the last couple of years, I have plenty of ingredients to hand which I use frequently for various recipes. Creating treats like these is not like baking, where ingredients have to be carefully measured and weighed to avoid any disasters occurring. Conversely, it is a very forgiving way of experimenting with some exciting and nutritious foods which you can pretty much guarantee will be edible in the end, even if they don't look stunning. Happily, my experiment was a great success, and even looked rather attractive which is a bonus, so here it is for your enjoyment too. I'm hoping the prettiness of the photos is enough to make you want to eat them!

Raw Cacaonut Truffles
Ingredients (makes 22)


300g Medjool dates (if you keep your dates in the fridge ensure you take them out a good hour at least before making this recipe. Hard dates will impede the process)
100g hazelnuts
1 tbsp dessicated coconut, plus extra for coating
1 1/2 - 2 tbsp raw cacao, plus extra for coating
1 tsp coconut oil
1 tbsp maple syrup

Method

Put the hazelnuts in a food processor and grind, then set aside in a bowl.


 Deseed and chop the dates...


 ...then put them in the food processor along with the coconut oil and maple syrup. Blitz until completely combined.


Next, add the raw cacao, ground hazelnuts and dessicated coconut, plus a pinch of salt. Blitz until combined.


If the 1 1/2 tbsp raw cacao isn't quite enough, add the other half a tbsp. Taste until it's right for you.

Put the remaining cacao and dessicated coconut into two bowls, then roll the mixture in the palms of your hands into 22 balls. Roll half the balls in the cacao and the other half in the coconut, to coat each ball nicely.


 Arrange on a pretty plate (optional!) and refrigerate for an hour or so. I found this mixture was pretty strong and not at all runny, so I really just refrigerated them to harden them up to make the texture even better for biting into.


Oohhhh these really are so delicious! And one of each is just the perfect afternoon snack, providing a sweet hit plus energy and fibre through the dates, and calcium, fibre, potassium, magnesium and iron from the cacao pawder. My favourite is the cacao coating, so I've been eating the coconut covered ball first! They really do have a truffley texture, and are so reminiscent of truffles, it seemed the perfect title (along with my play on the words cacao and coconut...).

I really hope you enjoy making and eating these little balls of deliciousness. Once you've finished admiring their prettiness, store in a baking paper-lined tupperware container in the fridge. I packed them in two separate layers so the cacao doesn't rub off all over the white flakes of coconut!

Happy snacking!

xxx Sam
Cooking for Sanity